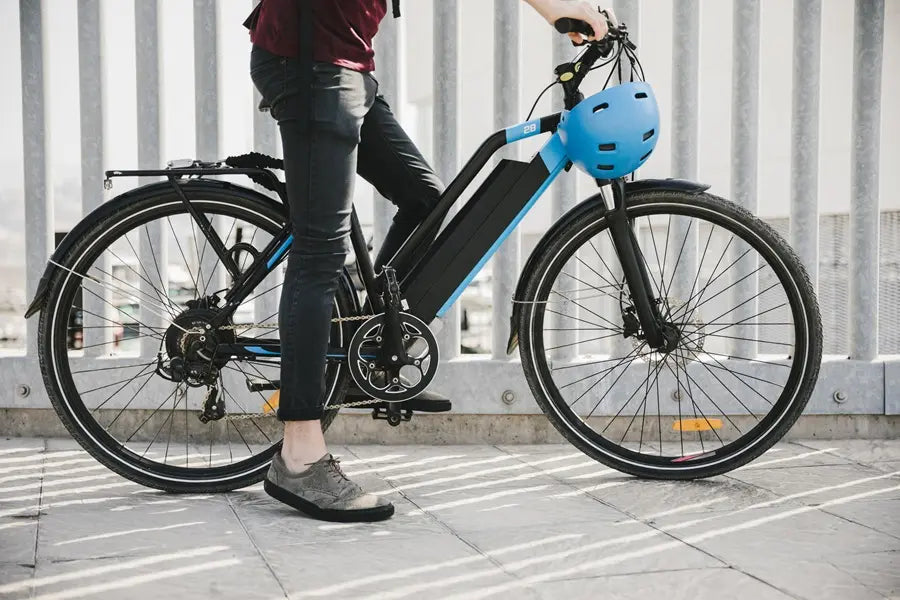
E-bikes, or electric bikes, have surged in popularity in recent years. They’re a fantastic way to experience the joy of cycling with a little extra boost, making commutes easier, conquering hills less daunting, and extending your riding range. But what if you already own a trusty bike and don't want to invest in a whole new e-bike? The answer is simple: convert your existing bike into an electric one!
This guide from eBikeling will walk you through the exciting world of e-bike conversions, giving you the knowledge to transform your regular bike into a powerful and eco-friendly machine.
Why Convert Your Bike?
There are several compelling reasons to consider an e-bike conversion kit:
- Save money: Compared to buying a brand-new e-bike, conversion kits offer significant cost savings. You get to leverage your existing bike and invest in an electric "add-on."
- Customize your ride: Conversion kits come in various configurations, allowing you to tailor the motor power, battery capacity, and other features to your specific needs and preferences.
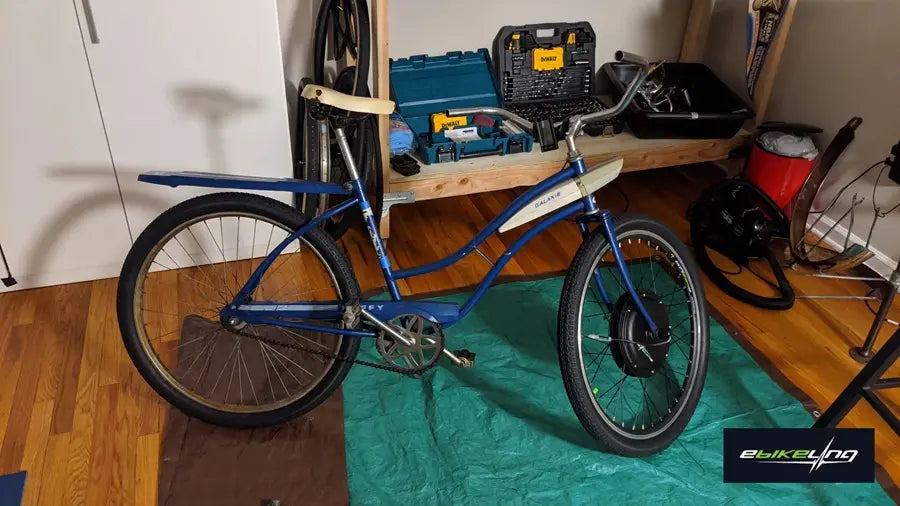
- Give your old bike a new life: Breathe a new life into a beloved bike that might otherwise gather dust in your garage.
- The satisfaction factor: There's immense satisfaction in taking your existing bike and transforming it into a powerful e-bike. It's a rewarding DIY project with a tangible outcome.
Before You Dive In
Safety First
E-bikes can reach higher speeds, so make sure your bike is in good working condition, especially brakes, tires, and frame integrity. If needed, you can always consider a tune-up.
Assess Your Skills
Converting a bike requires some mechanical aptitude. If you’re unsure about your capabilities, seek help from a qualified bike mechanic.
Research Local Regulations
E-bike regulations vary by region. Research speed limits, motor power limitations, and any mandatory registration requirements. If you live in Illinois, get familiar with Illinois Bicycle Rules of the Road.
Choosing the Right Conversion Kit

At this point, you’re closer to the transformation itself. The heart of your e-bike conversion is the conversion kit. Here's what you need to consider when making your choice.
Motor Type
To choose the motor right for you, you should explore the difference between hub motors and mid-drives in detail:
- Hub motor: Affordable and straightforward to install and available in front-wheel or rear-wheel options. Keep in mind that rear-wheel motors generally offer better climbing power.
- Mid-drive motor: Integrates with the drivetrain, providing a more natural riding experience but has a more complex installation.
| Feature | Hub Motor | Mid-Drive Motor |
|---|---|---|
| Price | More affordable | More expensive |
| Installation | Easier | More complex |
| Riding Experience | Less natural feeling | More natural feeling |
| Climbing Power | Good (especially rear-wheel) | Excellent |
Motor Power
Select a motor power that complies with local regulations and aligns with your riding needs. Higher wattage offers more assistance, especially on hills.
Battery Capacity
Choose a battery capacity that offers the desired range per charge. Consider factors like terrain, riding distance, and how much assistance you want. Don’t hesitate to learn more about how to choose your perfect e-bike battery.
Compatibility
Ensure the kit is compatible with your bike's frame size, wheel size, and brake type (e.g., disc brakes).
Tip: Reputable e-bike conversion kit retailers often have online tools to help you upgrade your bike with the best electric bike conversion kit.
Gathering the Tools and Materials
Before getting started, make sure you have the necessary tools and materials.
Here's a general list:
- Electric bike conversion kit (motor, battery, controller, display, etc.)
- Set of Allen keys
- Wrenches (various sizes)
- Socket wrench set
- Wire cutters and strippers
- Electrical tape
- Zip ties
- Cable ties
- Grease
Note: The specific tools required may vary depending on your chosen kit and bike model. When in doubt, refer to the kit's manual for detailed instructions.
Step-by-Step Guide to Converting Your Bike
Now comes the exciting part – transforming your bike!
1. Prepare Your Workspace
Choose a clean, well-lit area with ample space to work on your bike.
2. Remove the Pedals and Crankset (Mid-Drive Motor)
Use the appropriate wrench sizes to detach the pedals and crankset, following your bike's manual if necessary.
3. Install the Motor
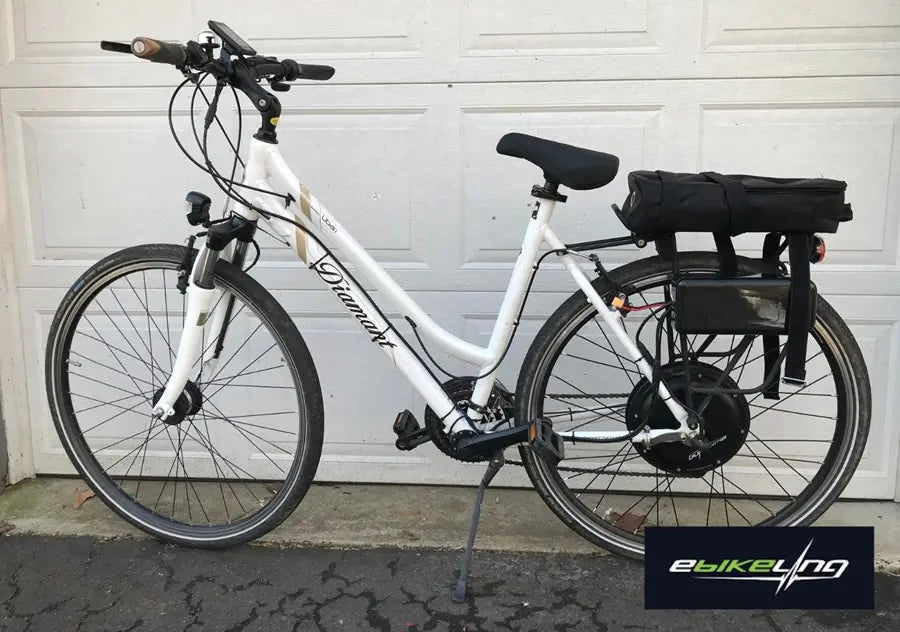
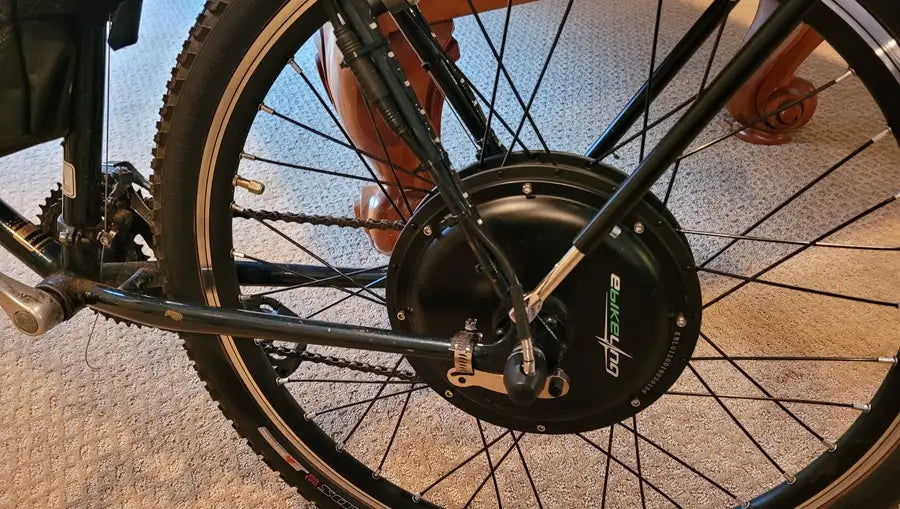
Hub Motor
- Front-wheel: Disassemble the front wheel, remove the existing tire and tube, and lace the new motor-integrated rim with the existing spokes. Install the motor wheel and connect the motor cable to the controller. Please ensure the motor cable is facing down to minimize the risk of getting water. Also, make sure to assemble the axle washer inside the dropout, and the torque washer outside the dropout (the same applies to the rear wheel).
- Rear-wheel: Similar process as the front, but ensure the motor cassette or freewheel matches your existing drivetrain.
Mid-Drive Motor
- Remove the bottom bracket and chainring.
- Install the mid-drive motor according to the kit instructions, which may involve attaching it to the frame and connecting it to the bottom bracket and chainring.
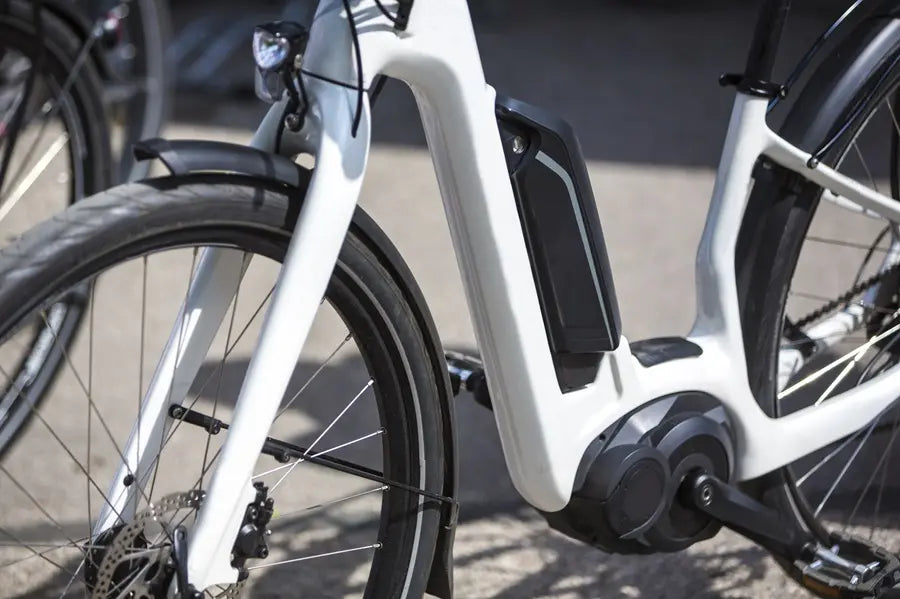
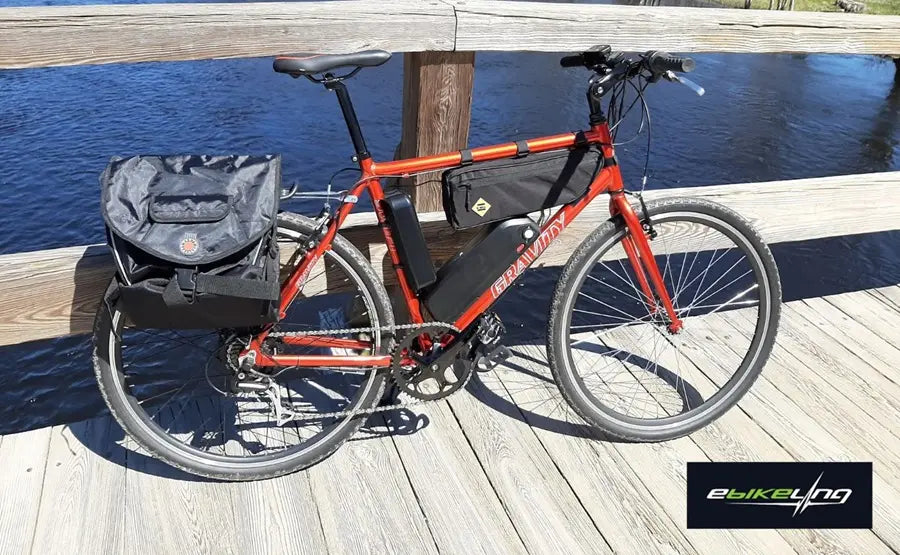
4. Install the Battery
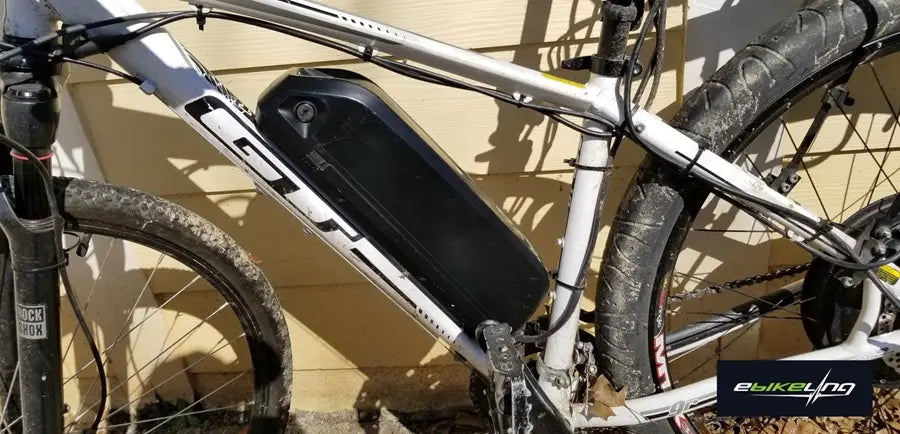
- Choose a mounting location on the bike frame that is secure and doesn't interfere with pedaling or components (e.g., water bottle cage mounts, rear rack, etc.).
- Use the provided mounting hardware to securely fasten the battery to the frame.
- Connect the battery to the controller according to the kit instructions.
5. Mount the Controller
- Find a suitable location on the frame to securely mount the controller and make sure it's protected from the elements (e.g., under the downtube, behind the seatpost, etc.).
- Use zip ties or cable ties to secure the controller in place.
6. Install the Display
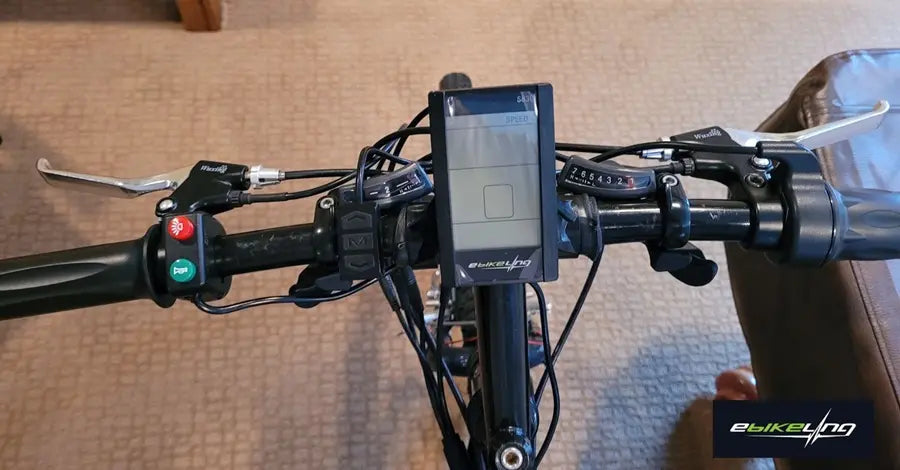
- Choose a handlebar location that provides easy visibility while riding.
- Mount the display using the provided bracket and ensure the cable reaches the controller.
- Connect the display cable to the 1T4 harness cable following the kit instructions.
- Set the most important display parameters.
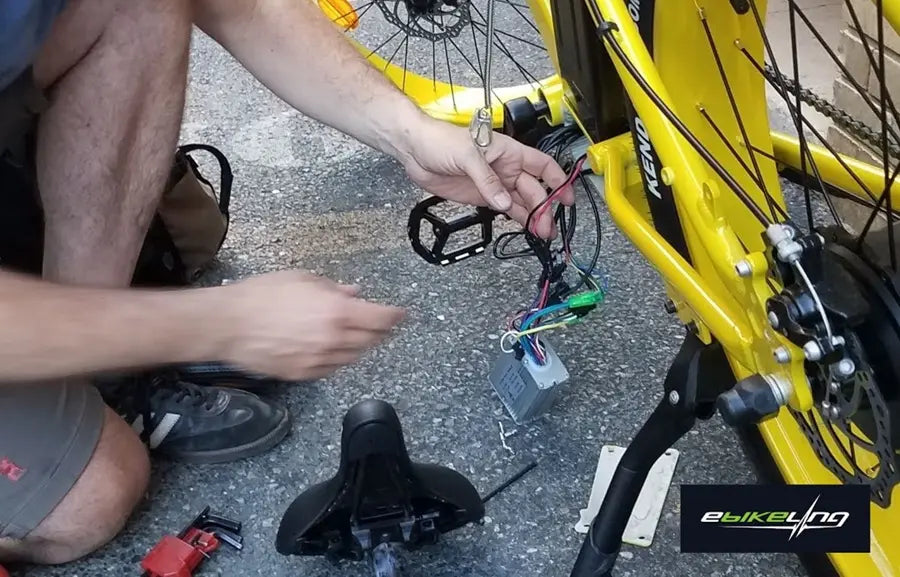
7. Wire Connections
- Carefully follow the kit's wiring diagram to connect the motor, battery, controller, and display cables.
- Use color coding and labels to ensure proper connections.
- Securely connect and insulate all wire connections using electrical tape and zip ties.
8. Sensor Installation
- Most kits utilize pedal-assist sensors or crank arm sensors to activate the motor.
- Install the sensor following the kit instructions, typically attaching it to the frame or crank arm.
- Connect the sensor cable to the controller.
- Ensure the sensor aligns with the magnet on the disk, and the gap between the sensor and the disk should be less than half an inch.
9. Brake Sensor Installation (Optional)
- Some kits include brake sensors that automatically cut motor power when brakes are applied.
- Install the brake sensors according to the kit instructions, typically attaching them to the brake levers.
- Connect the sensor cables to the controller.
- If you’d like to use your own brake levers but benefit from the power cut-off sensor, you can do so by getting a power cut-off sensor separately.
10. Reassemble the Drivetrain
Reinstall the crankset, pedals, and chain, finding proper tension and alignment.
11. Test and Adjust
- Carefully check all connections for tightness and proper function.
- Ensure the brakes work properly and the motor cuts out when braking (if applicable).
- Inflate the tires to the recommended pressure.
- Charge the battery fully.
12. Test Ride
- Choose a safe, open area for your first test ride.
- Start by pedaling without motor assistance to get used to the bike's weight and handling.
- Engage the motor assistance and gradually increase the power level to feel its effect.
- Test the brakes and shifting mechanisms to ensure they function properly.
- Pay attention to your surroundings and ride defensively.
13. Adjustments
After the initial test ride, fine-tune the following:
- Brakes: Adjust for proper stopping power and equal tension on both sides.
- Derailleur: Ensure smooth and accurate gear changes.
- Motor assistance: Adjust the power levels and pedal-assist settings to your liking.
- Display: Set the desired display options.
14. Final Touches
- Secure any loose cables or wires with zip ties or cable ties.
- Clean the bike and make sure everything is in good working order.
- Register your e-bike with your local authorities if required.
Additional Tips
- Consult the kit's manual and online resources: Refer to the kit's manual for detailed installation instructions and troubleshooting guidance specific to your chosen kit. Additionally, explore online resources, forums, and video tutorials from other e-bike conversion enthusiasts to gain valuable insights and tips.
- Use high-quality tools and materials: Investing in high-quality tools and materials will ensure a safe and reliable conversion. Although it’s tempting, don't compromise on quality when it comes to components that impact your safety and the performance of your e-bike.
- Seek help from a qualified mechanic (optional): If you encounter any difficulties during the installation process or lack confidence in your mechanical skills, don't hesitate to seek help from a qualified bike mechanic. Their expertise can ensure a professional and safe conversion.
Now you know how to turn a bike into an electric bike. From here, you can enjoy your new e-bike and ride safely!
Remember: This guide provides a general overview, and specific steps may vary depending on your chosen conversion kit and bike model. Always prioritize safety and follow the manufacturer's instructions for your kit and bike.
Additional Considerations

Folding Bikes
While converting folding bikes is possible, it can be more complex due to limited space for mounting components. There are some specific challenges of a folding bike model that you should consider.
Warranty
Converting your bike may void the manufacturer's warranty. Check your bike's warranty terms before moving forward.
Safety
E-bikes can travel faster, so make sure you understand and follow local e-bike regulations. Invest in a good helmet and familiarize yourself with safe e-bike riding practices.
Conclusion
Get ready to hit the road on a whole new level! With your converted e-bike, you'll be cruising past traffic jams, tackling hills with a smile, and experiencing the joy of eco-friendly transportation. It's time to rediscover the freedom of cycling with a powerful assist.
At eBikeling, we're always here to help you with your bike transformation. Explore our e-bike conversion kits for all bikes and budgets, e-bike components, batteries, and accessories. Contact us today to start building your freedom!
Appendix
Glossary of Electric Bike Terminology
- Hub motor: An electric motor integrated into the hub of a bicycle wheel, providing direct drive propulsion.
- Mid-drive motor: An electric motor mounted on the bike's frame near the bottom bracket, driving the bike's chain or belt to propel the rear wheel.
- Battery pack: A rechargeable energy storage device consisting of one or more lithium-ion cells, providing power to the electric motor and other components.
- Controller: An electronic device that regulates the power output from the battery to the motor, controlling speed, torque, and other performance parameters.
- Throttle: A hand-operated control unit that modulates the power output of the electric motor, allowing the rider to accelerate or decelerate as needed.
- Pedal-assist: A mode of operation in which the electric motor assists in the rider's pedaling effort, proportionally adjusting power output based on pedal cadence and torque.
- Brake cut-off sensor: A safety feature that automatically disengages the motor when the brakes are applied, preventing unintended acceleration and enhancing rider control.
- Watt-hour (Wh): A unit of energy equal to one watt of power expended for one hour, used to measure the capacity and energy density of e-bike batteries.
Resources for Further Reading and Support
- Electric bike forums: Online communities dedicated to electric bike enthusiasts, offering advice, support, and troubleshooting tips.
- Electric bike blogs and websites: Explore blogs, websites, and online publications focused on electric bikes for reviews, guides, and industry news.
- Manufacturer documentation and support: Refer to the user manuals, installation guides, and technical documentation provided by the manufacturers of your electric bike components for detailed instructions and troubleshooting assistance.
- DIY e-bike guides and tutorials: Explore DIY guides, tutorials, and instructional videos available online for assistance with electric bike conversion projects.


